

In today’s rapidly evolving eCommerce world, it is vital to be ahead of your competitors and engage your customers on a regular basis. To prove that you are serious about what you do, integrating Magento and WordPress is the way to go.
The benefits of having a Magento store with WordPress integration are vast.
- You’re no longer just offering a service or products. You are now offering meaningful content that will engage your guests and keep them coming back to your online store.
- You have opened the lines of communication. Your customers can now interact with you and other customers of the site through the blog via commenting on posts.
- Integrating WordPress with your online store will also allow you the opportunity to improve your eCommerce SEO.
The steps below assume that you have already installed WordPress and have access to the database credentials.
Download FishPig

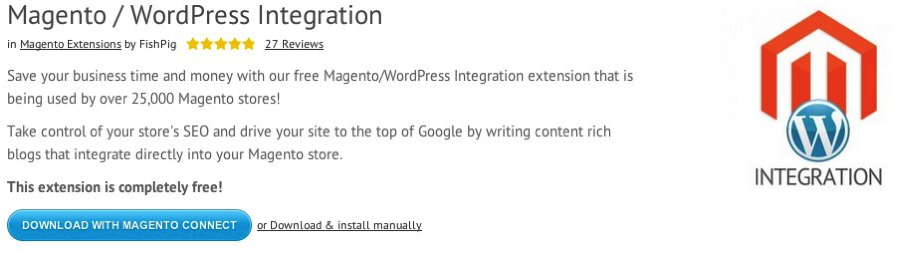
To begin the process of integrating Magento and WordPress with FishPig, you will want to download the latest version of FishPig. This can be obtained from FishPig’s site. Once at the FishPig download page, you will have two options for downloading. I will be using the “or Download & Install Manually” option.

This will give you a file named, “Fishpig_Wordpress_Integration-2.4.7.tgz”. You will need to extract the contents of this folder. Once extracted, you will have the following:

There are a few different ways to download and install extensions in Magento. For a more in-depth approach to this, visit a fellow Groover’s blog that goes over this process in detail - A Guide for Installing Magento Extensions.
Now that you have downloaded and extracted the FishPig extension, we are now ready to move onto installing the extension.
Install FishPig with Magento
When installing extensions, my preferred method is to use FTP to accomplish the installation. I’m a big fan of having a GUI and being able to drag and drop. To begin the installation, open a connection with an FTP program such as FileZilla. Navigate your Local Site to the folder where the extracted FishPig extension is located. Then, navigate you Remote Site to the root folder of your Magento installation. Simply drag all of the FishPig folders in the root Magento folder and let FileZilla go to work placing all the files and folders in their correct locations.

When the files have completed transferring, you will need to log into the Magento Admin and clear out the cache. To do this, navigate to System > Cache Management.


Once there, you will want to click the “Flush Cache Storage” button. After the cache clears, log out of the Magento admin and then log in again. If everything was done properly, you will now see a new menu item called “WordPress”.

Now it’s time to move onto configuring FishPig to fully integrate with your Magento store so you can begin to utilize all of the features.
Configure FishPig in Magento
Configuration of FishPig within Magento is a straightforward and simple process that will take a few minutes to complete. To begin, you will need to navigate to the setup menu. This is located at WordPress > Settings > Setup.
Once there, you will be presented with a screen that has several different areas that will need to be completed. Let’s break down those areas individually.
The first thing you will notice is a table at the top of the FishPig’s WordPress Integration page.

Currently, this table doesn’t look too appealing since the configuration has not been completed yet. Let’s begin by taking care of the Database & WordPress Install Location rows of this table. You will want to set WordPress Integration Enabled to ‘Yes’. You will then see the ‘Database’ block that contains a dropdown for ‘Database Location’ & ‘Table Prefix’. The WordPress installation that was done previously has Magento and WordPress sharing the database so we want to make sure we select ‘Magento/WordPress share a database’. In some cases, they will not share a database. Next, it is important that you set the Table Prefix field to exactly what you did during your WordPress install.

Our next step is to set up the Integration Level and Blog Route. An extremely useful feature within FishPig is that you can fully integrate your Magento theme into your WordPress blog. To do this, set the Integration Level to ‘Fully Integrated’. On the other hand, if you plan to use different themes for Magento and WordPress you have the option to set the Integration Level to ‘Semi Integrated’. Now that we have our Integration Level set, we need to determine what we want the blog route to be. What we enter here will be appended to our base Magento URL, so choose wisely since your customers and guests will see this when they visit your blog.

The last two areas of the Integration page are Miscellaneous & Logging and Debugging. Under Miscellaneous, we have a field for WordPress Path. This needs to have the location of your WordPress installation. I have set mine up in a folder called ‘wp/’ which is located in the root of my Magento installation. This may be different depending on how you installed WordPress in relation to Magento.
In the unfortunate event that you are experience issues with your WordPress installation, FishPig allows you to enable logging and debugging, which will create log files that can be used to troubleshoot the issues.

Now that all fields have been completed for the Integration page, make sure you click the ‘Save Config’ button located at the upper right of the page. Once the configuration is saved, you will see the table at the top update. If everything was done properly, you will now be looking at a very happy table.

The final thing left to do for setup with Magento is to setup our WP Auto-Login Details. Although this is not required for integration, it is a nice feature to have set up because you will be able to access your WordPress Admin without having to separately go the admin page and log in. To complete this portion of the setup, you will want to navigate to WordPress > Settings > WP Auto-Login Details.
With the Username and Password that you created when you installed WordPress, fill in the Username and Password fields and click the ‘Save’ button in the upper right of the page. Magento is now configured to automatically log you into your WordPress Admin.

This completes the basic configuration of WordPress within Magento. Now it’s time to move over to the WordPress Admin and complete a few items to get your blog up and running.
Configure FishPig Through WordPress
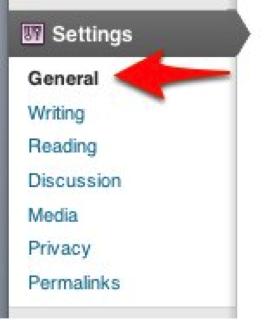
Let’s begin by logging into your WordPress Admin via Magento or by navigating to the admin page. Once logged in, go to Settings > General.

From this screen, you have the ability to tweak several different general settings for your blog. What we will focus on right now is making sure our WordPress Address & Site Address are correct. For each field, you will need to input your base Magento URL. For the WordPress Address, you will append what you entered in the Magento Admin for the WordPress Path in the Miscellaneous section. For the Site Address, you will append what you entered in the Magento Admin for the Blog Route in the Integration section. Make sure to save your changes.

The last thing to take care of for our Magento WordPress integration is to verify our Permalinks and create a .htaccess file in our main WordPress installation folder. To complete this, we need to navigate to Settings > Permalinks.

You will see several different options that allow you to pick how you want your URL structure for WordPress posts to be displayed. Once you have selected an option, click ‘Save Changes’. You will see a gray box appear at the bottom of the page that will have several lines of text in it.

Copy these items into a text editor and save the file as ‘.htaccess’. Use your FTP program to place this file into your base WordPress installation folder.
Recap
We have gone over all the steps that are needed to integrate WordPress and Magento with FishPig. You are now ready to begin utilizing the powerful features that WordPress and FishPig offer within your Magento store. If you have any questions about integrating WordPress with FishPig into your Magento store, please comment below or contact us.

